The Ultimate Guide to Packing Kitchen Glassware
Moving can be a whirlwind of boxes and bubble wrap, but if there is one room that strikes fear into the hearts of homeowners, it’s the kitchen. Specifically, the glassware. Whether it’s your everyday water glasses or your grandmother’s heirloom crystal, kitchen glass is fragile, awkwardly shaped, and prone to shattering if not handled with care.
At Dedicated Moving, we want your transition to your new home to be as stress-free as possible. Here is our professional guide to packing your glassware like a pro.
1. Gather Your Supplies
Don’t wait until moving day to realize you’re out of tape. To do this right, you’ll need:
-
Medium-sized boxes: Heavy-duty or “dish pack” boxes are best.
-
Packing paper: Clean, unprinted newsprint is ideal to avoid ink stains.
-
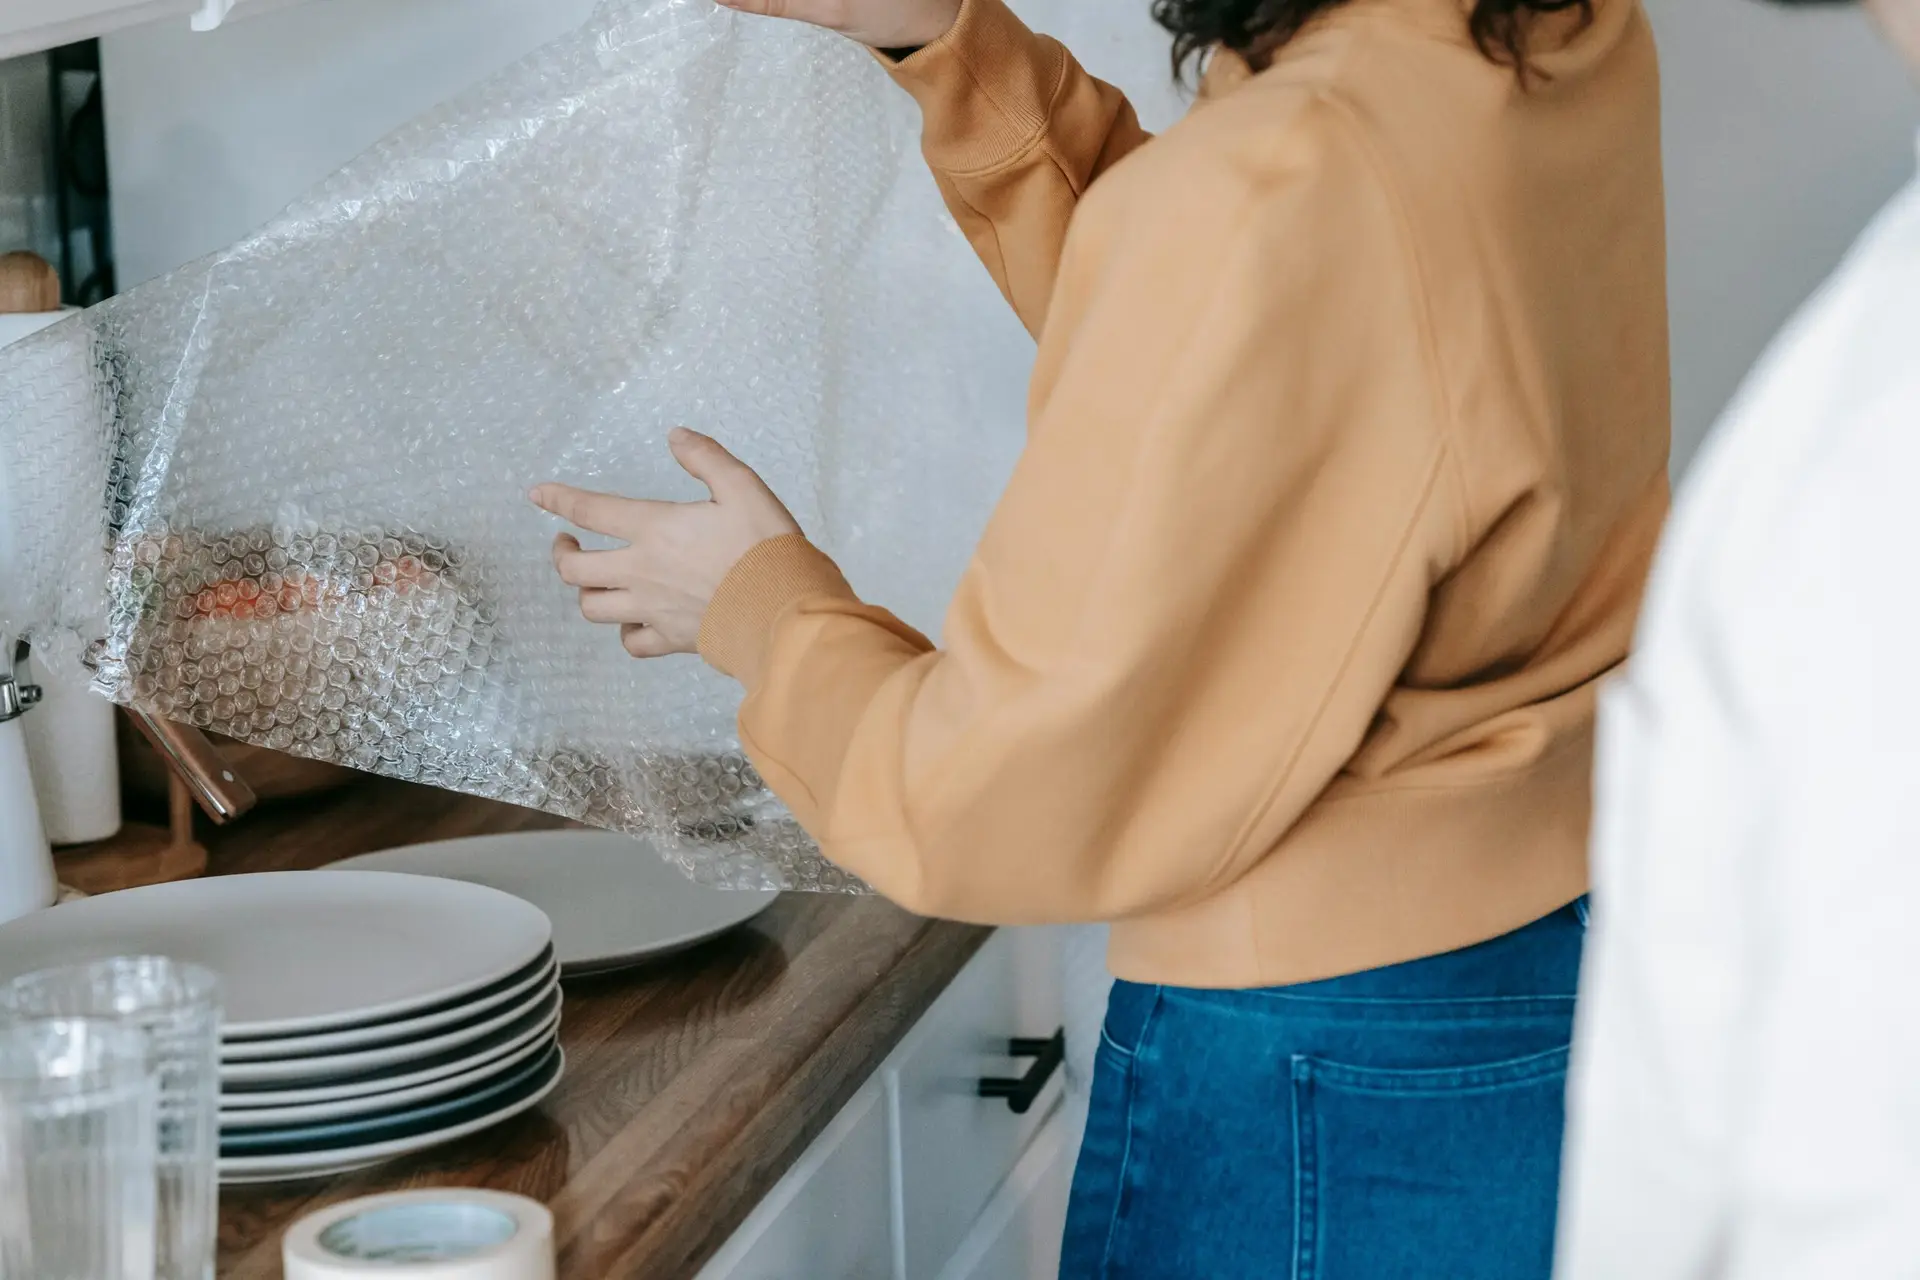
Bubble wrap: For extra-sensitive items.
-
Packing tape and markers.
-
Cardboard dividers: These fit inside boxes to create individual cells for glasses.
2. The Golden Rule: Create a Cushion
Before a single glass touches the box, you must create a shock-absorbing layer. Crumple up several sheets of packing paper and line the bottom of the box with about 3 inches of “cushion.” This protects the glass from impact when the box is set down.
3. How to Wrap Each Type of Glass
Different shapes require different techniques. Always wrap on a flat, clean surface like a kitchen table.
Everyday Drinking Glasses
-
Place a glass on the corner of your packing paper.
-
Roll the glass into the paper, tucking the edges into the mouth of the glass as you go.
-
Ensure the glass is completely covered and the paper is snug.
Stemware (Wine & Champagne Glasses)
Stemware is notoriously delicate.
-
Wrap the stem first with a piece of bubble wrap or crumpled paper to “level” the thickness with the bowl.
-
Roll the entire glass in several layers of paper.
-
Pro Tip: Never pack wine glasses horizontally; they are much stronger when standing upright.
4. Loading the Box
When placing your wrapped glasses into the box, follow these rules:
-
Heaviest items first: Place thicker pint glasses or mugs at the bottom.
-
Lightest items last: Save the top layer for your thin wine glasses or crystal.
-
Fill the gaps: This is the most important step! If you shake the box gently and hear “clinking” or feel movement, add more crumpled paper. A safe box is a tight box.
5. Labeling for Success
Seal your box with high-quality tape across the top and bottom seams. Use a bold marker to write “FRAGILE: KITCHEN GLASSWARE” on at least two sides and the top. Don’t forget to indicate which way is “UP” so movers know not to flip the box.
Helpful Resources
For more specialized tips or to buy professional-grade supplies, check out these helpful sites:
-
Moving.com: Great for visual tutorials on wrapping techniques.
-
U-Haul Official Supplies: Where to find dish-saver kits and specialty boxes.
-
The Spruce: Detailed checklists for all types of fragile kitchen items.
Need a Hand?
Packing the kitchen is a massive job. If you’d rather leave the heavy lifting (and the careful wrapping) to the experts, Dedicated Moving is here to help. We offer full packing services to ensure your kitchen arrives at your new home in one piece.